
Owning a 3D printer turns you into the person who fixes things. Broken bracket? Print one. Missing knob? Print one. The printer is not the problem. The problem is the design step, because CAD software eats weekends for breakfast. Claude 3D printing changes that math: you describe the part, and the model gets made for you.
The wall is design, not printing
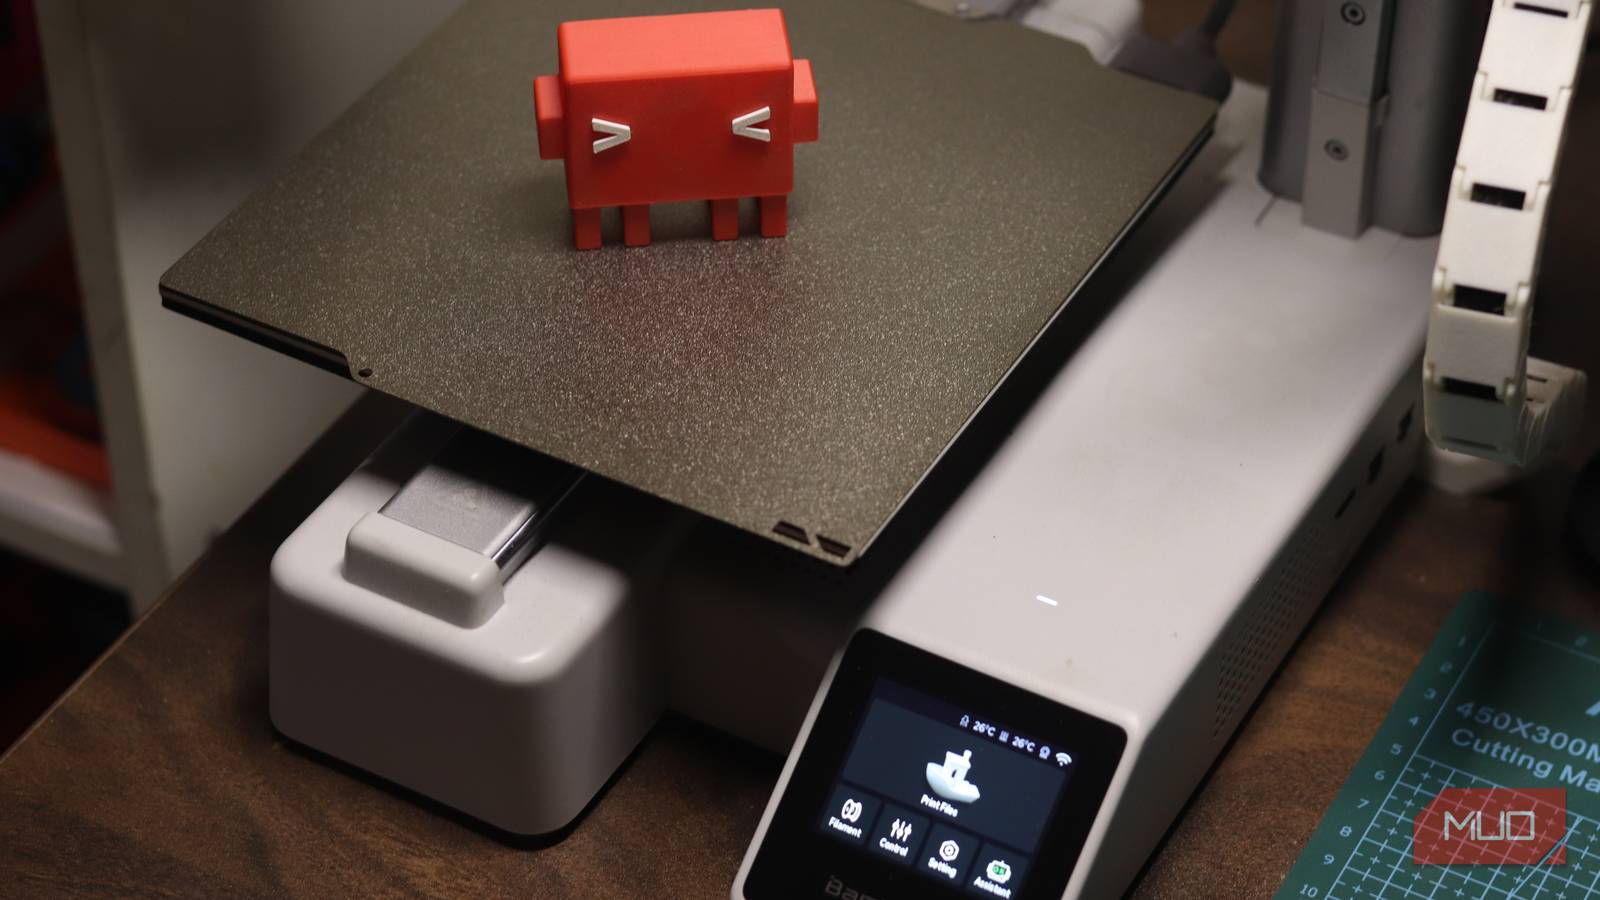
Here’s what nobody mentions when they recommend a 3D printer. Printing got easy. Slicers auto-arrange parts, printers auto-level beds, and a Bambu Lab A1 Mini runs almost unattended. Design never got easy.
Fusion 360 has a learning curve measured in weeks. Blender is powerful and famously hostile to newcomers. So most owners skip design entirely and print other people’s models from Thingiverse, waiting forever for someone to model the exact part they need.
Meanwhile, Claude writes code better than almost anything else. And one of the oldest 3D modeling tools, OpenSCAD, IS code. Put those two facts together and the design wall starts to crumble.
What you actually need
Every Claude 3D printing setup needs two things, that’s it.
First, Claude needs a way to produce 3D files. That can be as simple as Claude writing an OpenSCAD script, or as connected as an MCP server plugged into real CAD software like FreeCAD. (MCP stands for Model Context Protocol. It’s how AI assistants attach to external tools. Think of it as giving Claude hands.)
Second, if you want the full hands-off loop, Claude needs a bridge to the printer itself: a Home Assistant integration, a small script that uploads sliced files over your local network, or a printer that accepts files directly. Skip this if you want. Moving files by hand works fine when you’re starting.
MakeUseOf’s Yadullah Abidi runs exactly this setup: Claude designs the part, slices it with his saved filament profiles, sends it to the printer, then watches the built-in camera to check the print. The whole conversation becomes the interface.
The easy way: an app that pairs with Claude
If installing anything makes your eye twitch, start here. OpenShape 3D is a desktop modeling app with an AI assistant mode built in, and it’s the gentlest Claude 3D printing onramp you’ll find.
The flow takes about two minutes: open Settings, switch on “Let AI Assistants Build Here,” and pair Claude Desktop with the code it shows you. Then you type things like this:
Make me a flowerpot I can 3D print, about 11 cm wide at the top and 10 cm tall, with a hole in the bottom for drainage.
Claude models it while you watch, checks that every surface is closed and printable, and drops the finished file in your Downloads folder. A pot and saucer took the tutorial about a minute. Files come in millimeters, already rotated so the part sits on the print bed the way it sits in the preview.
Pick STL if you want maximum slicer compatibility. Pick 3MF if your printer supports colors. Both show up ready to slice.
The free way: code you never write
OpenSCAD costs nothing, runs on any old laptop, and models parts by code instead of mouse clicks. For twenty years that scared beginners off. Now it’s the perfect partner for an AI, because AI is genuinely good at writing this kind of code.
The loop looks like this:
- Install OpenSCAD. It’s free and open source.
- Open Claude and describe the part with real measurements. Wall thickness matters, so include it.
- Claude writes the script. Paste it into OpenSCAD and press render.
- Look at the result. Tell Claude what’s wrong (“the snap is too tight”, “make the corners rounded”).
- Repeat until the preview looks right. Then export as STL and slice it.
A high school teacher in Japan printed a working toothbrush case this way, no CAD background, iterating a couple of versions before the snap fit. Total print time was about 90 minutes. His verdict matches everyone else’s: when it comes to Claude 3D printing, describing beats clicking.
The catch? OpenSCAD is brilliant for boxes, brackets, mounts, and anything with exact dimensions. Organic shapes like figurines come out clunky. For those, use the next option.
The power way: give Claude the workshop
The full setup connects Claude to everything: a real CAD program through an MCP server, your printer through Home Assistant, and optionally a 3D model generator for textured or organic parts.
Services like 3D AI Studio or Artificial Studio plug into Claude as connectors. You describe a dragon, Claude routes the job to the generator, and a printable model comes back a few minutes later. Ask for “STL, 80 mm tall” and the conversion scales it for you. Plans start around $9 a month; the OpenSCAD and OpenShape routes cost nothing beyond your Claude subscription.
With all the pieces connected, you can say “design a replacement knob for this drawer, 32 mm wide with a splined grip, slice it with my PLA profile, and send it to the printer.” Then watch the camera while it prints.
Is it worth the setup? If you print weekly, yes. If you print twice a year, stop at the easy way.
(While you’re handing AI more responsibility, our Claude Code mods guide covers upgrades for the coding side of the house.)
Three paths compared
| Easy (OpenShape 3D) | Free (OpenSCAD) | Power (MCP + Home Assistant) | |
|---|---|---|---|
| Setup time | ~2 minutes | ~10 minutes | An evening or more |
| Cost | Claude plan only | Free | Claude plan, maybe $9/mo generator |
| Skill needed | None | Basic English descriptions | Comfort with tokens and configs |
| Best for | Simple household parts | Brackets, boxes, exact sizes | Full automation, printer control |
| Limits | Simple geometry | No organic shapes | Fiddly to configure |
What Claude still gets wrong
Honest section. Claude cannot see your build plate. If it’s upside down or covered in old filament blobs, the print fails and no chat window will save it. Claude also can’t move things on the bed, clear failed prints, or know that your drawer is actually 31 mm wide, not 32. These are the hard limits of Claude 3D printing today, and they’re all physical, not technical.
Physical reality stays your job. So does measuring twice. Give Claude real numbers and a description of what the part needs to hold, and reject any answer that guesses.
Wall thickness, overhangs, and print orientation still decide whether a part survives. Treat your first three versions as prototypes. Check the fit, complain to Claude about what’s wrong, and let it revise. That iteration loop is where the combination actually shines, because revising a model used to mean reopening CAD and remembering where everything was.
One more warning: check thin parts in your slicer before printing them small. Swords, hooks, and antenna shapes need supports, and AI models love adding them without telling you.
What to print first
Pick something flat, thick, and forgiving. A cable clip. A coaster. A simple hook. Describe it with exact measurements, generate the file, slice it, and print.
Your first print probably won’t be perfect. That’s normal, and it’s exactly what the revision loop is for. But there’s a specific kind of satisfaction in saying “make me a part that does this” and holding it twenty minutes later. Once you feel it, the design wall is gone, and the printer finally earns its desk space.
Sources: Claude and a 3D printer are an absurdly useful combination (MakeUseOf), OpenShape 3D Claude tutorial, Claude.ai