


The replacement part for your broken vacuum costs $18 on Amazon. Plus shipping. Plus the two-day wait. You could just design 3D printed parts with Claude in about three minutes and print it for forty cents in filament.
Why Claude works better than traditional CAD for beginners
Learning Fusion360 or Tinkercad takes weeks. You need to understand extrusions, fillets, sketches, constraints, and a dozen other concepts before you can make anything useful. Most people quit before finishing their first design.
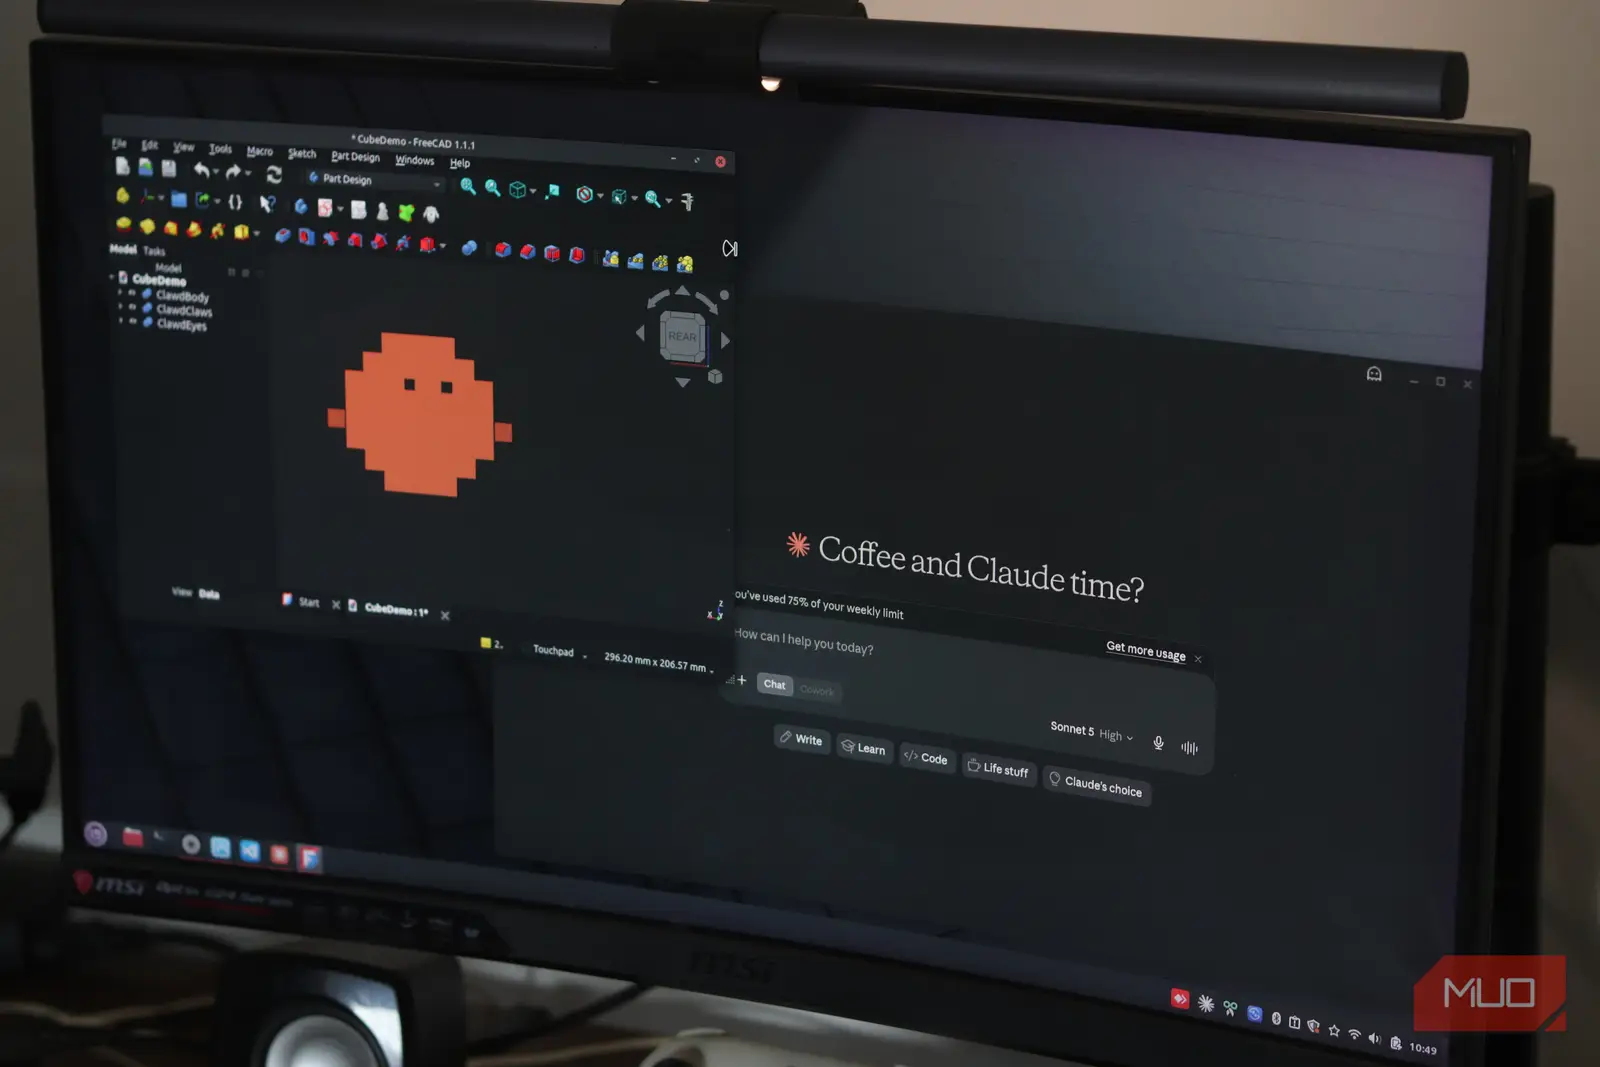
Claude skips all of that. You describe what you need in plain English. A phone stand. A cable clip. A bracket for your desk shelf. Claude writes the code, you paste it into free software, and out comes a 3D model ready to print.
The trick is that Claude does not generate a 3D model directly. It writes code in a language called OpenSCAD, which is basically “programming for 3D objects.” You do not need to understand the code. Claude writes it. You just run it.
This works shockingly well for functional parts: things with precise dimensions, holes, slots, and wall thicknesses. Decorative stuff like figurines? Not so much. But if you need a part that does something, Claude handles it.
What you will need to get started
OpenSCAD (free)
OpenSCAD is open-source software that turns code into 3D models. Download it from the official site. Windows, Mac, and Linux are all supported. It takes about two minutes to install.
You will use OpenSCAD to paste Claude’s code, preview the 3D model, and export it as an STL file that any 3D printer can read. No account needed. No subscription. Completely free.
A Claude account (free tier works)
You need access to Claude. The free tier handles basic parts without issues. If you are designing something complex with lots of geometry, the Pro tier gives you more context window space for longer conversations. But start free.
Claude works better than ChatGPT for this particular task. From testing both, Claude generates cleaner OpenSCAD code with fewer syntax errors. It also handles precise dimensions more reliably. If you want to learn how Claude compares to other AI tools for coding tasks, our guide on coding with AI breaks down the differences.
A 3D printer (or a print service)
Obviously you need something to print with. If you do not own a printer yet, services like PCBWay, JLCPCB, and various local makerspaces will print your STL files for a few dollars. You do not need to buy a printer to get started with AI-assisted 3D design.
How to design your first 3D printed part with Claude
Step 1: Describe the part you need
Open Claude and be specific about what you want. Vague prompts produce vague results. Here is a template that works well:
“Write OpenSCAD code for a [part name]. It should be [dimensions]. It needs [features: holes, slots, curves, etc.]. The wall thickness should be 2mm. Design for FDM printing with a 0.4mm nozzle.”
The last line matters more than you think. Telling Claude about your printer’s nozzle size means it will design parts that actually print cleanly. Walls under 0.8mm thick tend to fail on most consumer printers.
Step 2: Get Claude to write OpenSCAD code
Claude will spit out a block of code that looks something like this:
difference() {

    cube([100, 60, 5]);

    translate([50, 30, 0])

        cylinder(h=6, r=15, $fn=64);

}
Do not try to read or understand the code. Copy it directly. If you are curious, cube() makes a box, cylinder() makes a cylinder, and difference() cuts one shape out of another. But Claude handles all of this for you.
If the code has errors when you paste it into OpenSCAD, just tell Claude the error message. It fixes its own mistakes. Usually on the first try.
Step 3: Render and export your model
Paste the code into OpenSCAD. Hit F5 to preview (this is fast). Then hit F6 to render (this takes a bit longer, depending on complexity). Once rendered, go to File and export as STL.
Open that STL file in your slicer (Cura, PrusaSlicer, whatever you use). Slice it. Print it. Done.
The whole workflow, from “I need a thing” to holding the printed part, takes about five to ten minutes for simple objects. Compare that to the hours you would spend learning and clicking through traditional CAD software. Claude is not just faster. It removes the entire learning curve.
5 practical things you can design and print right now
Here are five beginner-friendly projects to try. Each one takes under five minutes of prompting and produces something genuinely useful.
1. Phone stand. A simple angled cradle that holds your phone at a comfortable viewing angle. Specify your phone model for a perfect fit. Claude will add a cable slot if you ask.
2. Cable clips. Those little clips that stick to your desk and hold cables in place. A pack of five costs $8 online. You can print twenty of them for pennies. Tell Claude the cable diameter and the clip size.
3. Replacement knobs. Broken stove knob? Missing drawer pull? Describe the shape, the shaft diameter, and the overall size. Claude nails this because the geometry is simple and functional.
4. Wall mount for a small device. Ring doorbell mount, sensor bracket, tiny camera housing. These are essentially boxes with holes, which is exactly what OpenSCAD excels at generating.
5. Custom spice jar lids. If your jars are non-standard sizes, finding replacement lids is nearly impossible. Claude can design a lid with the exact thread pitch and diameter you need. This one saves real money.
Tips for getting the best results from Claude
Always specify dimensions in millimeters. OpenSCAD uses mm by default. If you say “two inches,” Claude might convert it wrong. Say “50mm” instead.
Mention printer limitations upfront. Tell Claude your nozzle size (usually 0.4mm), your minimum wall thickness (usually 1.2mm for structural parts), and whether you need supports. This prevents designs that look great on screen but fail on the print bed.
Iterate, do not start over. If the first version is close but not right, tell Claude what to change. “Make the hole 2mm bigger.” “Add a fillet to the top edge.” “Make it 10mm taller.” Claude modifies the existing code instead of starting from scratch.
Ask for tolerances. If a part needs to fit around something (like a cable or a peg), tell Claude to add 0.3mm of clearance. 3D printed parts are not perfectly precise, and tight fits tend to not fit at all.
When Claude will not work (and what to do instead)
Claude plus OpenSCAD is amazing for functional parts with clear geometry. But it has real limitations.
Organic shapes are a no-go. Sculptural objects, character figures, curved surfaces with complex topology. OpenSCAD is not built for this. For organic shapes, look at tools like Spline AI or Meshy, which use different approaches (mesh-based AI generation rather than code).
Very complex assemblies. If you need a multi-part object with hinges, snaps, or interlocking mechanisms, Claude can handle individual parts but will struggle to design them so they fit together perfectly. You would need to print, measure, adjust, and repeat. Still faster than learning CAD, but not instant.
Surface finish matters less than you think. AI-generated designs from OpenSCAD tend to have faceted surfaces (because they are built from mathematical primitives). If you need smooth, consumer-product-quality surfaces, you need traditional CAD software. But for functional parts around the house, the print quality matters more than the model smoothness.
The bottom line: if you need a part that does something specific and has measurable dimensions, Claude can probably design it. Try it now with something broken in your house. The result might surprise you.