


You let an AI agent loose on your computer and it deleted your node_modules folder. Or worse — it uploaded your SSH keys somewhere. Sound familiar? Most people don’t realize Windows has a built-in cage for this exact problem: windows sandbox ai agents.
AI coding agents are powerful. They write code, run commands, install packages, and refactor entire projects. But they also have full access to your filesystem. One hallucinated rm -rf and your project is gone. One malicious package and your credentials are compromised.
Windows Sandbox solves this. It’s a lightweight, disposable virtual machine built into Windows 10 and 11 Pro. Boots in seconds. Resets completely when you close it. Your real PC stays untouched. Windows sandbox ai agents is the isolation layer you’ve been missing.
Why AI Agents Need Isolation
AI agents don’t just suggest code — they execute it. Claude Code, Cursor, Codex, and similar tools run terminal commands, modify files, and install dependencies. That’s the whole point. But it’s also the risk.
I’ve seen agents delete production databases because they confused test and prod environments. I’ve watched them install crypto miners disguised as npm packages. The agent isn’t malicious — it’s just following instructions that looked reasonable at the time.
Windows Sandbox gives you a clean room. The agent can wreck the sandbox all it wants. Your actual machine, your actual files, your actual credentials — none of it gets touched. This is why windows sandbox ai agents matters.
What Is Windows Sandbox (And Why It’s Perfect)
Windows Sandbox isn’t a full VM like VirtualBox. It shares your Windows kernel, uses your OS image, and weighs about 100MB. Cold boot takes 5-10 seconds. Close the window and everything vanishes — filesystem, registry, network state, all gone.
Key features for AI agent work:
– Built into Windows Pro/Enterprise/Education — no download, no license, no setup
– GPU acceleration — works with GUI apps and browser automation
– Configurable networking — disable internet for total isolation, enable for package installs
– Integrated clipboard — copy code in, paste results out
– Mapped folders — share specific project folders read-only or read-write
The catch: Windows Home edition doesn’t include it. You need Pro or higher. Most work laptops already have it. For windows sandbox ai agents use cases, Pro is required.
Step-by-Step: Set Up Windows Sandbox for AI Agents
1. Enable Windows Sandbox
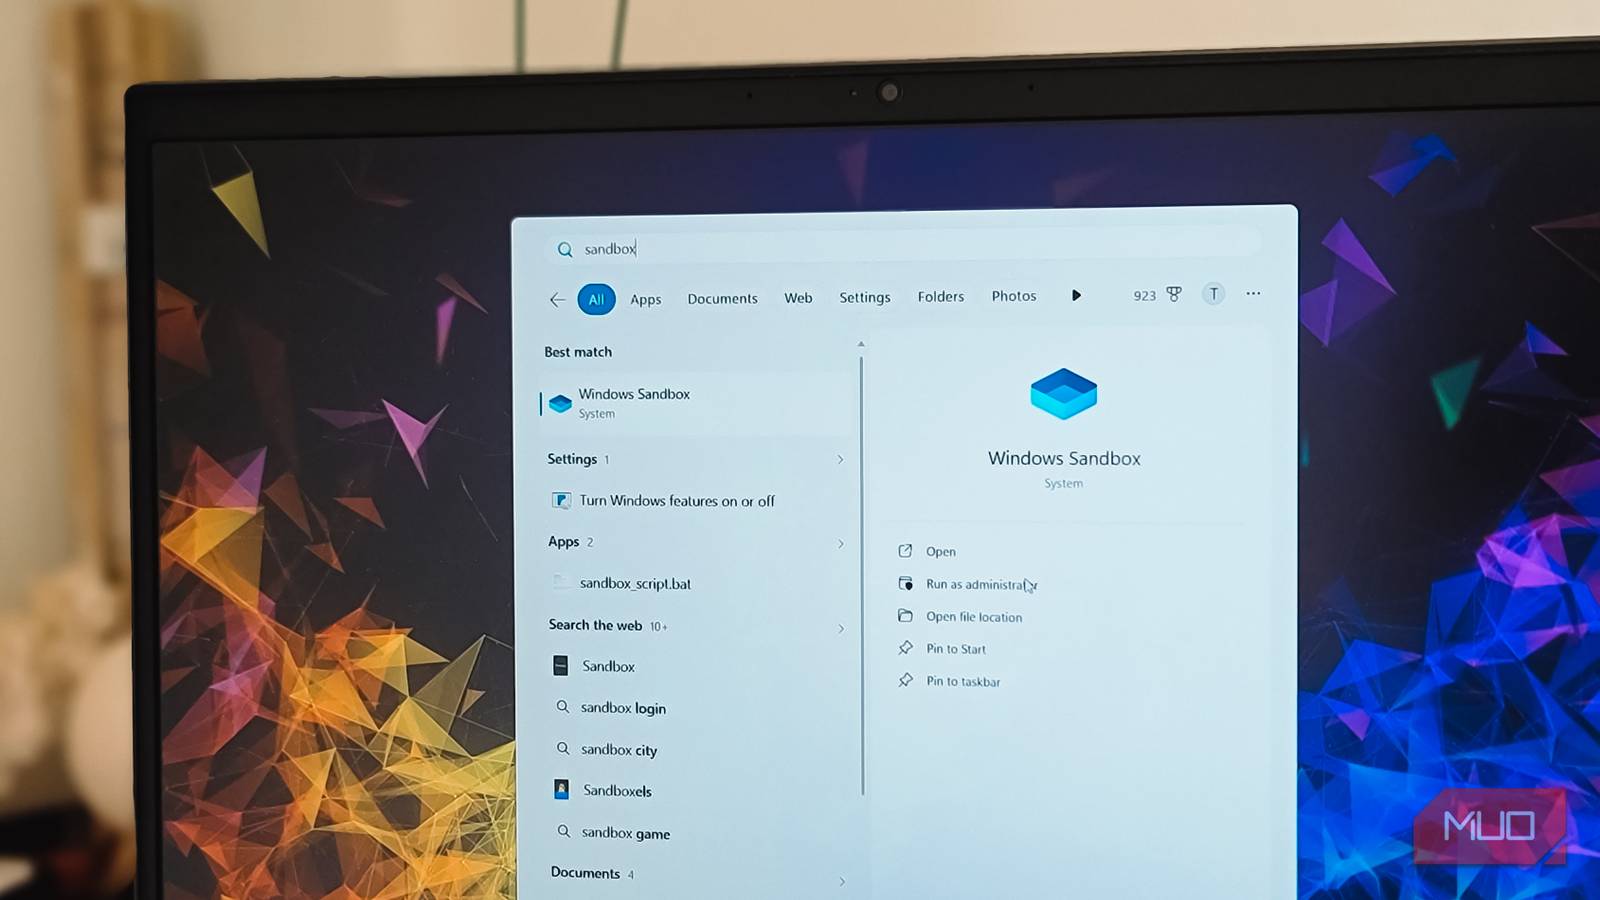
Open Start, type “Turn Windows features on or off,” hit Enter. Scroll to Windows Sandbox, check the box, click OK. Windows installs it and asks for a reboot. Done.
2. Create a Configuration File
Windows Sandbox uses .wsb XML files for configuration. Create a file named ai-agent.wsb on your desktop:
<Configuration>
  <VGpu>Enable</VGpu>
  <Networking>Disable</Networking>
  <MappedFolders>
    <MappedFolder>
      <HostFolder>C:\Users\YourName\Projects\ai-sandbox-workspace</HostFolder>
      <ReadOnly>false</ReadOnly>
    </MappedFolder>
  </MappedFolders>
  <LogonCommand>
    <Command>cmd.exe /k "cd C:\Users\WDAGUtilityAccount\Desktop\ai-sandbox-workspace && start cmd"</Command>
  </LogonCommand>
</Configuration>
This does three things: enables GPU (for browser automation), disables network (total isolation), and maps a project folder from your host. The agent can read and write inside that folder — nowhere else.
3. Prepare Your Workspace
Create the folder on your host: C:\Users\YourName\Projects\ai-sandbox-workspace. Drop your project files there. Or clone a repo inside the sandbox after launch — your call.
4. Launch and Install Your Agent
Double-click ai-agent.wsb. The sandbox opens. You’re now in a fresh Windows desktop as WDAGUtilityAccount.
Open the terminal. Install your agent:
# For Claude Code
npm install -g @anthropic-ai/claude-code

# For Codex
# Download from OpenAI or use via ChatGPT desktop

# For Cursor
# Download installer, run it
5. Run Your Agent
Navigate to your mapped workspace:
cd C:\Users\WDAGUtilityAccount\Desktop\ai-sandbox-workspace
claude-code
The agent runs. It edits files, runs tests, installs packages. All inside the sandbox. When you’re done, close the window. Everything resets.
Pro Tips: Network, GPU, and File Sharing
Need internet for npm install? Change <Networking>Disable</Networking> to <Networking>Enable</Networking> in your configuration file. Or create a second config file for “online mode” and keep the default offline.
Want to share multiple folders? Add more <MappedFolder> blocks. Make them read-only with <ReadOnly>true</ReadOnly> for reference files (docs, configs) and read-write only for the active project.
Running browser automation? GPU must be enabled. The <VGpu>Enable</VGpu> line handles this. Without it, Playwright/Puppeteer/ChatGPT Computer Use will fail or run painfully slow.
Persistent config? Save multiple configuration files: ai-agent-offline.wsb, ai-agent-online.wsb, ai-agent-browser.wsb. Double-click the one you need.
Limitations to Know
Windows Sandbox isn’t magic. A few gotchas:
- No persistence — Close the window, everything’s gone. Commit your code to git before closing. The mapped folder survives on your host, but sandbox-installed tools, configs, and databases vanish.
- Windows Home users — You’re out of luck unless you upgrade. Docker Desktop is the alternative (heavier, slower, but works on Home).
- ARM devices — Works on Windows on ARM, but x86 emulation adds overhead. Native ARM agents run fine.
- No nested virtualization — Can’t run Docker inside the sandbox. If your agent needs containers, you need a different approach.
For the official documentation, see Microsoft’s Windows Sandbox overview.
Your Next Step
Create that configuration file right now. Takes two minutes. Next time you fire up an agent, launch it in the sandbox. You’ll wonder why you ever ran them on bare metal. Windows sandbox ai agents will save you from disaster.
Your files will thank you.