


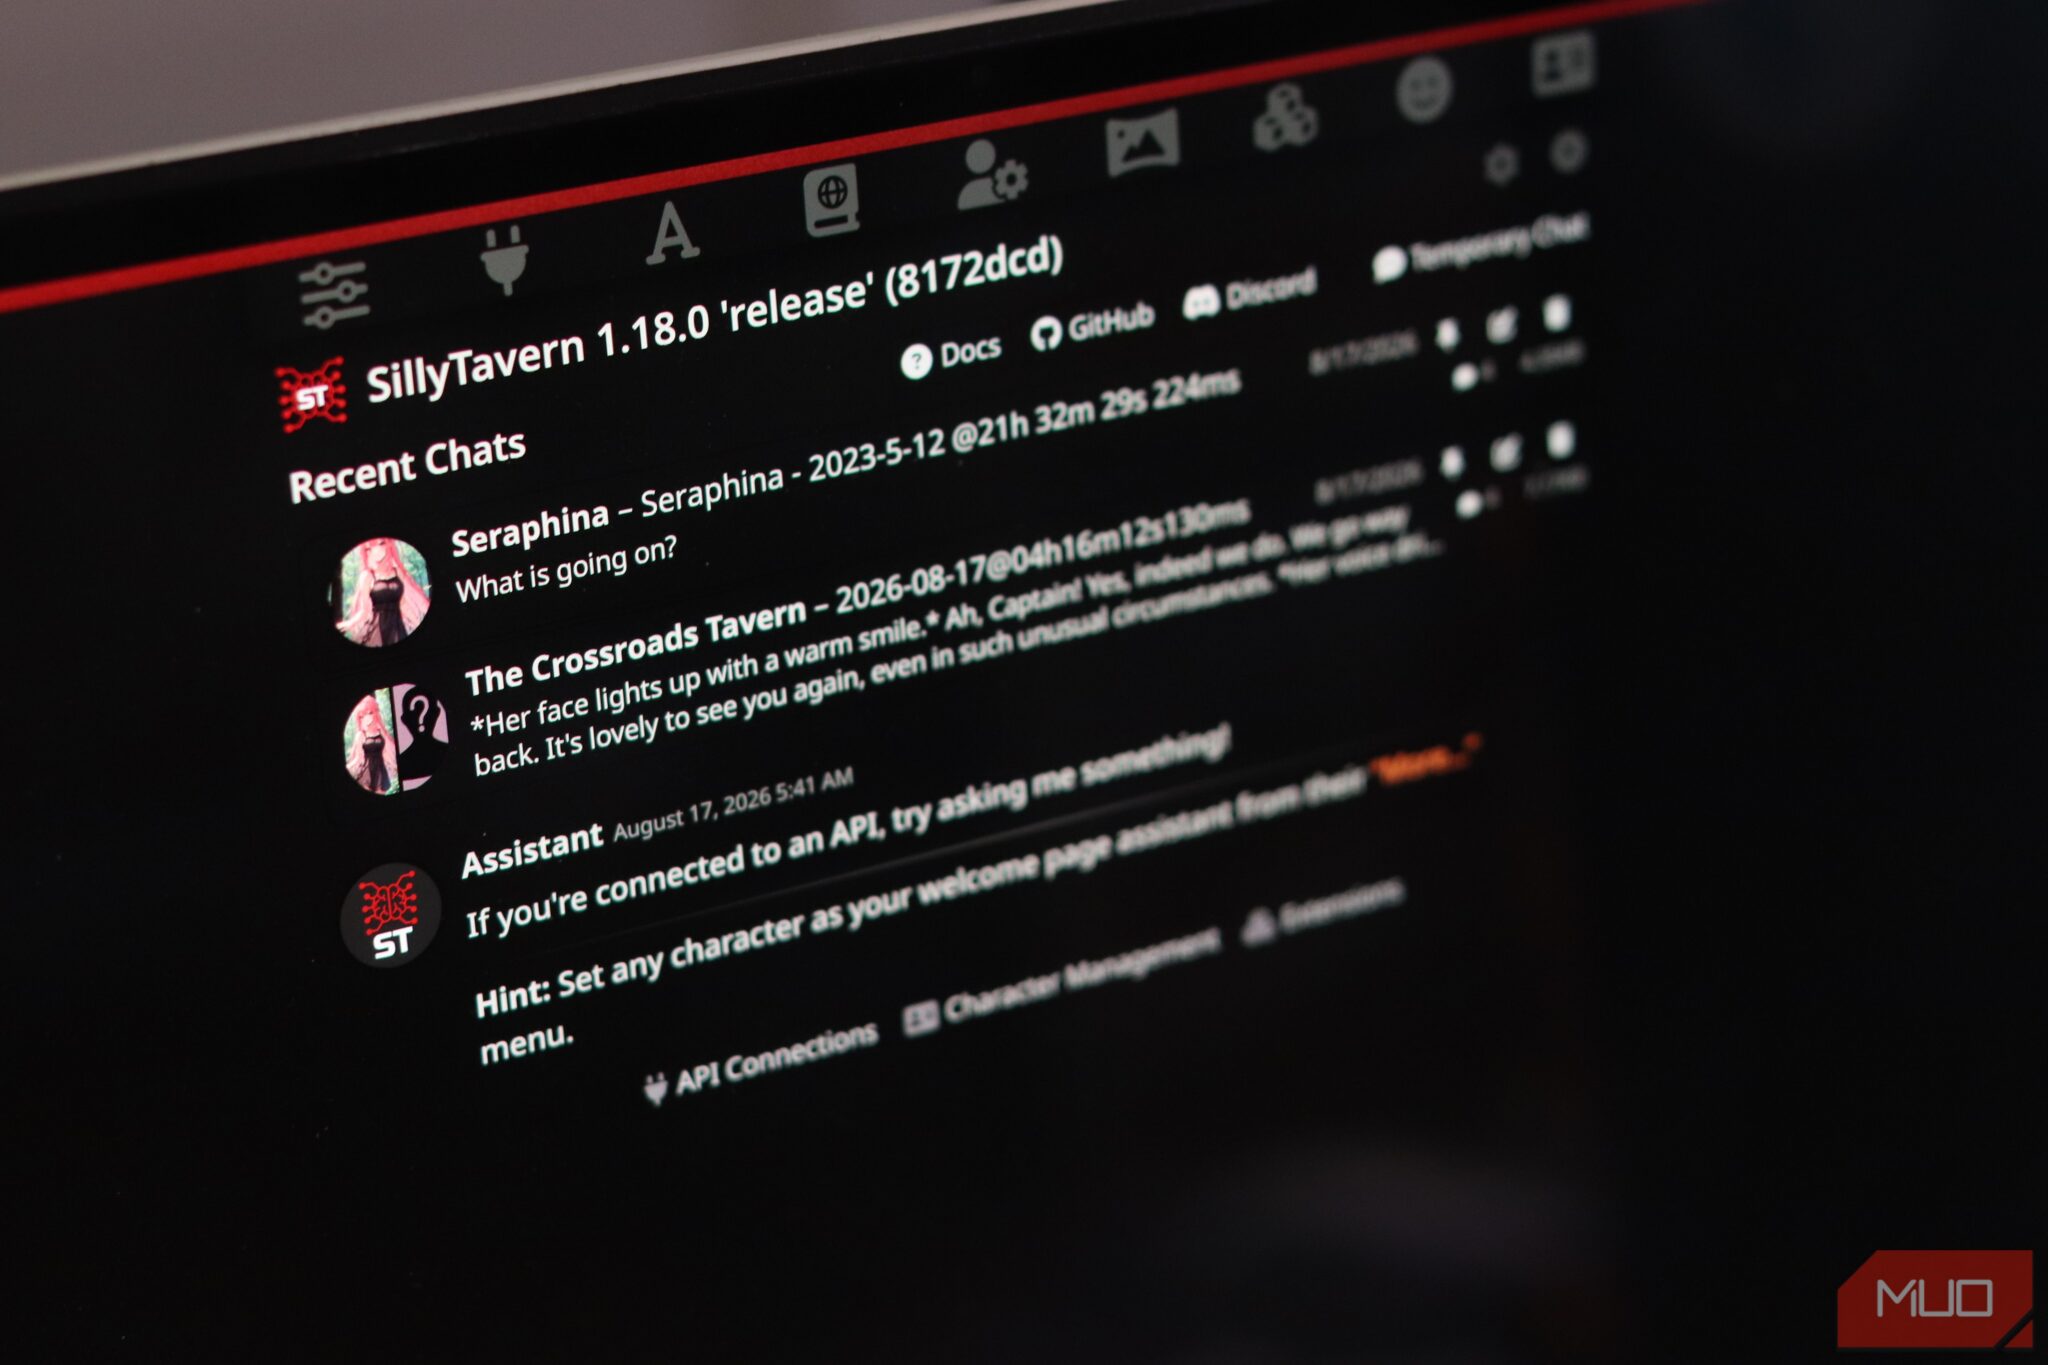

You’ve probably been stuck with just one AI chat app for months — ChatGPT, Claude, or whatever’s trending. But what if you could turn that single chat window into a complete AI studio that learns your characters, stories your world, and adapts to whatever you want to build? Enter SillyTavern, the free, open-source LLM frontend that’s revolutionizing how people interact with AI. After months of setup, I finally unlocked the full potential of AI chatting — and I’m about to show you exactly how to do it, step by step. The best part? It runs locally, costs nothing, and gives you customization options that blow every other chat app out of the water.
The Problem: Limited AI Chat Options
Most people treat AI chatbots like single-use tools. You open ChatGPT, type your question, get an answer, and close the tab. But what if you’re not just asking questions anymore? What if you’re building entire RPG campaigns, teaching AI to roleplay as your favorite characters, or creating custom tutors for specific subjects? Traditional chat interfaces were never designed for this level of personalization and continuity.
Every AI user hits the same limitations eventually:
- Character consistency: Can’t have your AI maintain personality across conversations
- Custom scenarios: No way to create specialized environments or worlds
- Advanced features: Missing character cards, lorebooks, and multi-modal capabilities
- Privacy concerns: Want local, private AI without data collection
- Integration limitations: Can’t connect to different AI models or backends
These limitations make AI feel transactional rather than relational. You end up using multiple apps for different needs instead of one unified system that grows with your requirements.
The Solution: SillyTavern Setup Guide
Step 1: System Requirements
Before we dive in, make sure you have:
- Windows, Mac, or Linux computer
- Node.js 18+ installed (download from nodejs.org)
- Git for version control (already on most systems)
- 8GB RAM minimum (16GB+ recommended for smoother experience)
- Free disk space: About 2GB for the application
Step 2: Install SillyTavern
Important: We’re using the stable release version, not the development branch. This ensures maximum stability and fewer bugs.
Windows Users:
- Download the Windows installer from the GitHub releases page
- Run the installer and follow the setup wizard
- Launch SillyTavern Desktop from the Start menu
Mac/Linux Users:
- Open Terminal or Command Prompt
- Run:
git clone https://github.com/SillyTavern/SillyTavern -b release - Navigate to the directory:
cd SillyTavern - Run the installer:
./install.sh(Mac/Linux)
Wait for the installation to complete. This process downloads all necessary dependencies and sets up the application structure.
Step 3: First Launch Configuration
After installation, follow these essential setup steps:
1. Start SillyTavern:
- Click the start button or run
./start.sh - Wait for the application to load (2-5 minutes depending on your system)
2. Initial Settings:
- Navigate to Settings → General
- Set your preferred language (default: English)
- Configure your theme preference (dark/light/system)
- Enable or disable analytics (optional)
3. Backend Configuration:
- Click Settings → API
- This is where you connect your AI backends
- We’ll configure this step by step
Step 4: Setting Up Your First Backend
Why Backends Matter:
SillyTavern isn’t an AI model itself — it’s a frontend that connects to various AI backends. Think of it as the command center that talks to different AI services.
Quick Start with Local Models:
For beginners, we recommend starting with local models because:
- Privacy: Your data stays on your computer
- Cost: Free (just need to download the model files)
- Speed: Faster responses than cloud APIs
- Offline capability: Works without internet connection
Get Started with Llama.cpp:
- Download Llama.cpp: Visit github.com/ggerganov/llama.cpp and download the latest release for your operating system
- Visit huggingface.co/models and search for “llama-2-7b-chat”
- Download the GGUF file (around 4GB)
- Save it to
~/llama.cpp/models/or wherever you installed llama.cpp
- Configure in SillyTavern:
- Go to Settings → API → Add New Backend
- Name: Local Llama 2
- Type: llama.cpp API
- URL: http://localhost:8080
- Model: llama-2-7b-chat.gguf
- API Key: Leave blank (local models don’t need API keys)
- Click Test Connection to verify setup
Alternative: OpenAI-Compatible Local Models:
If you have a local OpenAI-compatible model (like LM Studio or Oli AI’s server):
- Go to Settings → API → Add New Backend
- Type: OpenAI
- URL: http://localhost:1234/v1 (common LM Studio port)
- API Key: sk-… (LM Studio provides this)
- Model: llama-2-7b-chat or your model name
Step 5: Create Your First Character Card
What Are Character Cards?
Character cards are JSON files that define how your AI character behaves, speaks, and thinks. Think of them as digital personality profiles that you can load instantly.
Create a Simple Tutorial Character:
- Open Character Editor: Click Characters → Create New Character
- Name: StudyBuddy
- Description: A patient programming tutor who explains concepts simply
- Personality: Encouraging, clear, methodical, helpful
- Scenario: You are teaching a beginner programmer how to write their first function. Explain like you’re talking to a 10-year-old, using simple analogies and step-by-step instructions.
- First user message: I don’t understand what a function is
- First bot response: Think of a function like a kitchen recipe. A recipe tells you exactly what ingredients to mix and what steps to follow to make something yummy. A programming function does the same thing – it takes some ingredients (data) and follows steps (code) to produce a result. Want to make our first ‘hello world’ recipe together?
- Save Your Character: Click Save Character
You’ll see it in your character list.
Pro Tip: Give your character a unique writing style. Don’t make it too perfect – real tutors make mistakes and say “um sometimes. This makes them more relatable.
Step 6: Adding Lorebooks (World Building)
What Are Lorebooks?
Lorebooks are text files that provide background information your characters can reference. Think of them as the character’s memory bank or knowledge base.
Create a Study Buddy Lorebook:
- Open Lorebook Editor: Click Lorebooks → Create New Lorebook
- Title Your Lorebook: Programming Fundamentals
- Keyword: variable
- Content: Variables are like labeled containers in memory. You can store data there and retrieve it later. In programming, we declare variables first (like ‘int x = 5;’), then we can change their values anytime.
- Keyword: function
- Content: Functions are reusable code blocks. You define them once with specific inputs and outputs, then call them multiple times with different data. This saves time and reduces errors.
- Keyword: loop
- Content: Loops let us repeat actions without writing the same code over and over. Common types: for loops (counted), while loops (condition-based), do-while loops (execute at least once).
- Switch back to your StudyBuddy character
- Type: What’s a variable in programming?
- Watch how it references your lorebook content
Step 7: Extensions and Customization
Why Extensions Matter:
Extensions are like apps for SillyTavern. They add features like TTS (text-to-speech), STT (speech-to-text), image generation, translations, and much more.
Install Useful Extensions:
- Install Popular Extensions:
- Visit the Extensions marketplace in SillyTavern
- Search for TTS (Text-to-Speech)
- Install Google TTS Extension
- Search for OCR (Optical Character Recognition)
- Install Screenshot OCR Extension
- Configure TTS:
- Go to Extensions → TTS Settings
- Set your preferred voice and language
- Test with a simple phrase: “Hello, this is a test of text to speech functionality“
Custom Themes:
- Change Appearance:
- Navigate to Settings → Appearance → Themes
- Choose from built-in themes or upload custom ones
- Dark theme works best for extended coding sessions
- Keyboard Shortcuts:
- Go to Settings → Keyboard Shortcuts
- Customize shortcuts for common actions:
- Ctrl+S: Save character
- Ctrl+E: Export chat history
- Ctrl+Shift+L: Clear chat
Step 8: Your First Complete Setup
Now that we have all the basics configured, let’s create your first complete AI studio session:
Create a Character Card Pack:
- Open Character Importer:
- Use the import feature from the Characters menu
- Copy this character card JSON for a supportive tutor:
{"name": "Programming Mentor",
"description": "Patient tutor who breaks complex concepts into simple steps",
"personality": "calm, encouraging, detail-oriented, loves analogies",
"scenario": "You help beginners learn programming. Always use real-world analogies and give step-by-step instructions. Celebrate small victories. Never assume programming knowledge.",
"first_message": "Welcome! I'm excited to help you learn programming. What's the first concept you'd like to explore?",
"examples": [
{
"user": "I don't understand what a variable is",
"bot": "Think of a variable like a labeled recipe box in your kitchen. You can put 'flour' in the 'ingredients' box, 'sugar' in the 'sweetness' box, and retrieve them later when you need to bake. In programming, variables store data so you can use it anywhere in your code."
},
{
"user": "How do I make my program do something repeatedly",
"bot": "That's a loop! Imagine you're making copies of important documents. You set up the copier once, then tell it 'copy until you've made 10 pages.' Programming loops work the same way - set up the rule once, then repeat automatically."
}
]
}
- Import the Character: Paste the JSON and save
- Start Your First Session:
- Select Programming Mentor
- Type: I want to learn how to build a simple calculator app
- Watch how the character provides structured guidance
Step 9: Backup and Export
Why Backup Matters:
Characters, lorebooks, and settings are your hard work – protect them:
- Export Everything:
- Go to Settings → Export
- Choose Full Export (includes characters, settings, chat history)
- Save to your preferred location
- Regular Backups:
- Set up a cron job or manual reminder to backup weekly
- Store backups in cloud storage or external drive
Share with Community:
- Export Characters:
- Select characters → Export → Character JSON
- Share on platforms like r/SillyTavern or community forums
- Import Others’ Characters:
- Download character cards from community posts
- Import them directly into SillyTavern
Quick Troubleshooting Guide
Common Issues and Solutions:
- Backend Connection Fails:
- Ensure backend service is running (
./start.shin backend directory) - Check firewall settings allow local connections
- Verify correct port is used in settings
- Ensure backend service is running (
- Character Won’t Load:
- Check JSON format is valid
- Ensure file extension is .json
- Restart SillyTavern if stuck
- Performance Issues:
- Close unnecessary applications
- Increase SillyTavern memory allocation
- Use lighter character cards initially
- Chat Freezing:
- Check internet connection (for cloud backends)
- Clear browser cache if using web version
- Restart the application
Learning Resources
Where to Find Help:
- Official Documentation: Visit docs.sillytavern.com
- Community Support: Discord server: sillytavern.gg
- Reddit: r/SillyTavern
- Stack Overflow: tag sillytavern
- Advanced Features: Scripting: Learn SillyTavern Script (STS)
- Character creation: Explore advanced JSON structures
- Custom backends: Develop your own API integrations
Pro Tips: Advanced SillyTavern Mastery
1. Multi-Character Sessions
Why Multiple Characters Matter:
Create dynamic conversations with multiple personalities:
Example Setup:
- Create Supporting Characters:
- Critic: Provides constructive feedback
- Enthusiast: Celebrates progress
- Technical Expert: Deepens complex explanations
- Session Flow:
- Start with Programming Mentor for basics
- Bring in Technical Expert for advanced topics
- Use Critic for review and improvement
2. Scripted Interactions
Automate Repetitive Tasks:
Create a Study Session Script:
-- Begin Script --
User: "I need help with loops"
Condition: contains("loop" or "repeat")
Action: Load "Loop Fundamentals" lorebook
Follow-up: Ask user experience level
- - End Script --
3. Advanced Character Development
Building Complex Characters:
Create a Mentor System:
- Mentor Characters: Different expertise levels
- Progression System: Unlock advanced characters as skills improve
- Collaboration: Characters can reference each other’s knowledge
4. Performance Optimization
Keep SillyTavern Fast:
- Character Size Management:
- Use concise descriptions for background characters
- Store large information in lorebooks instead of character cards
- Compress JSON files
- Backend Optimization:
- Use local models for faster responses
- Implement connection pooling
- Cache frequently accessed character data
- Memory Management:
- Close unused characters
- Clear chat history regularly
- Monitor system resources
5. Creative Applications
Beyond Tutoring:
- Storytelling: Create interactive narrative experiences
- Role-Playing: Practice conversations in different contexts
- Language Learning: Characters in multiple languages
- Problem-Solving: Characters that teach through puzzles and challenges
Takeaway: Your AI Studio Journey
Next Steps for Your SillyTavern Setup:
- Week 1-2: Master the basics
- Complete setup and configuration
- Create 3-5 useful character cards
- Practice daily conversations
- Week 3-4: Build community
- Import characters from other users
- Share your creations
- Join SillyTavern Discord
- Month 2: Advanced features
- Learn scripting for automation
- Create extensions for specific needs
- Integrate with other tools
Remember: SillyTavern is a platform, not a product. The value comes from what you create with it. Start simple, experiment, and don’t be afraid to break things – that’s how you learn.
Your AI studio is ready. The possibilities are limited only by your imagination. Start building today!
Pro Tip: The beauty of SillyTavern is its flexibility. Don’t follow this guide rigidly — modify it to suit your specific needs and interests. Whether you’re a programmer, storyteller, language learner, or creative writer, SillyTavern can adapt to your goals.
—
Need help getting started? Join the SillyTavern Discord community or visit the official documentation for detailed tutorials and support.
—
Pro Tip: The beauty of SillyTavern is its flexibility. Don’t follow this guide rigidly — modify it to suit your specific needs and interests. Whether you’re a programmer, storyteller, language learner, or creative writer, SillyTavern can adapt to your goals.